


Glass Jar Photo Gallery by Gabrielle McLean
Glass jars are a versatile craft item because you can do so many activities with them. This jar will serve as a sort of photo frame for whatever images you desire to display, whether it be family photos, a photo of your pet or favorite singer, or anything else that makes you feel happy. The lights will help you relax.
Materials:
Glass Jar
Photos and/or Magazine Cut Outs
Battery Operated Tea Light Candle or String Lights
Mod Podge
Foam Paint Brush
Rhinestones, Ribbon, Flowers, etc.
Instructions:
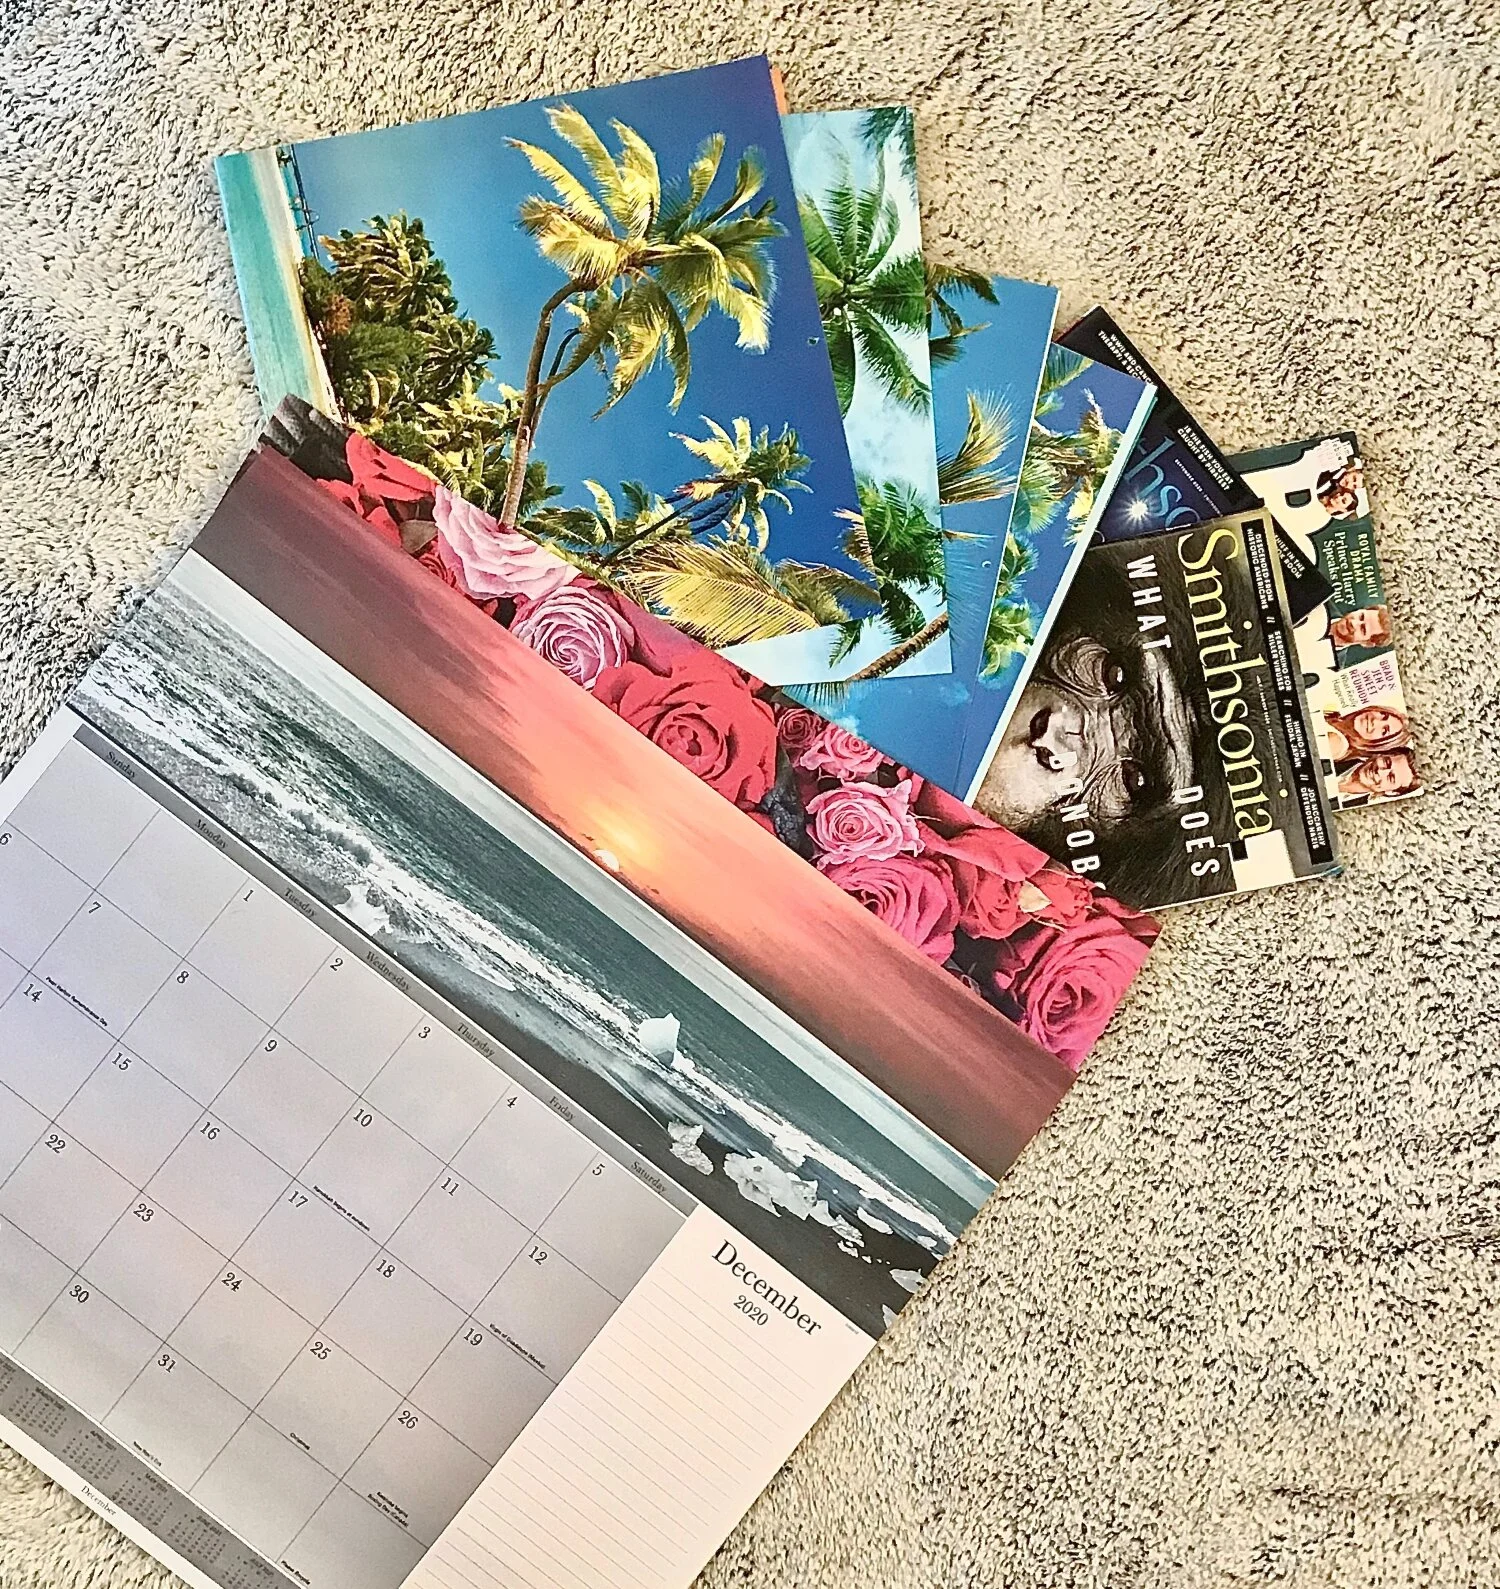
Step one: Choose the images you want to use. You can use old calendars, cutouts from magazines, or your own photos. You may need to see which image fits best with the jar you have and you can certainly use a small portion of a photo if necessary; if you have multiple jars you can use multiple images! It is not necessary to, but having a theme is an option-for example, maybe you want a photo gallery just of your pets or just of your favorite flower. If you have smaller images, you can place multiple pictures on one jar.

Step two: Mod podge them to the outside of the jar upside down. You may need to trim the image if it is too big for the jar. Keep this in mind before adhering to the picture. First, cover the jar in mod podge, then place the photo on it. Then apply mod podge on top of the image and be sure to cover the edge of the image so it stays on the jar. Allow to dry.
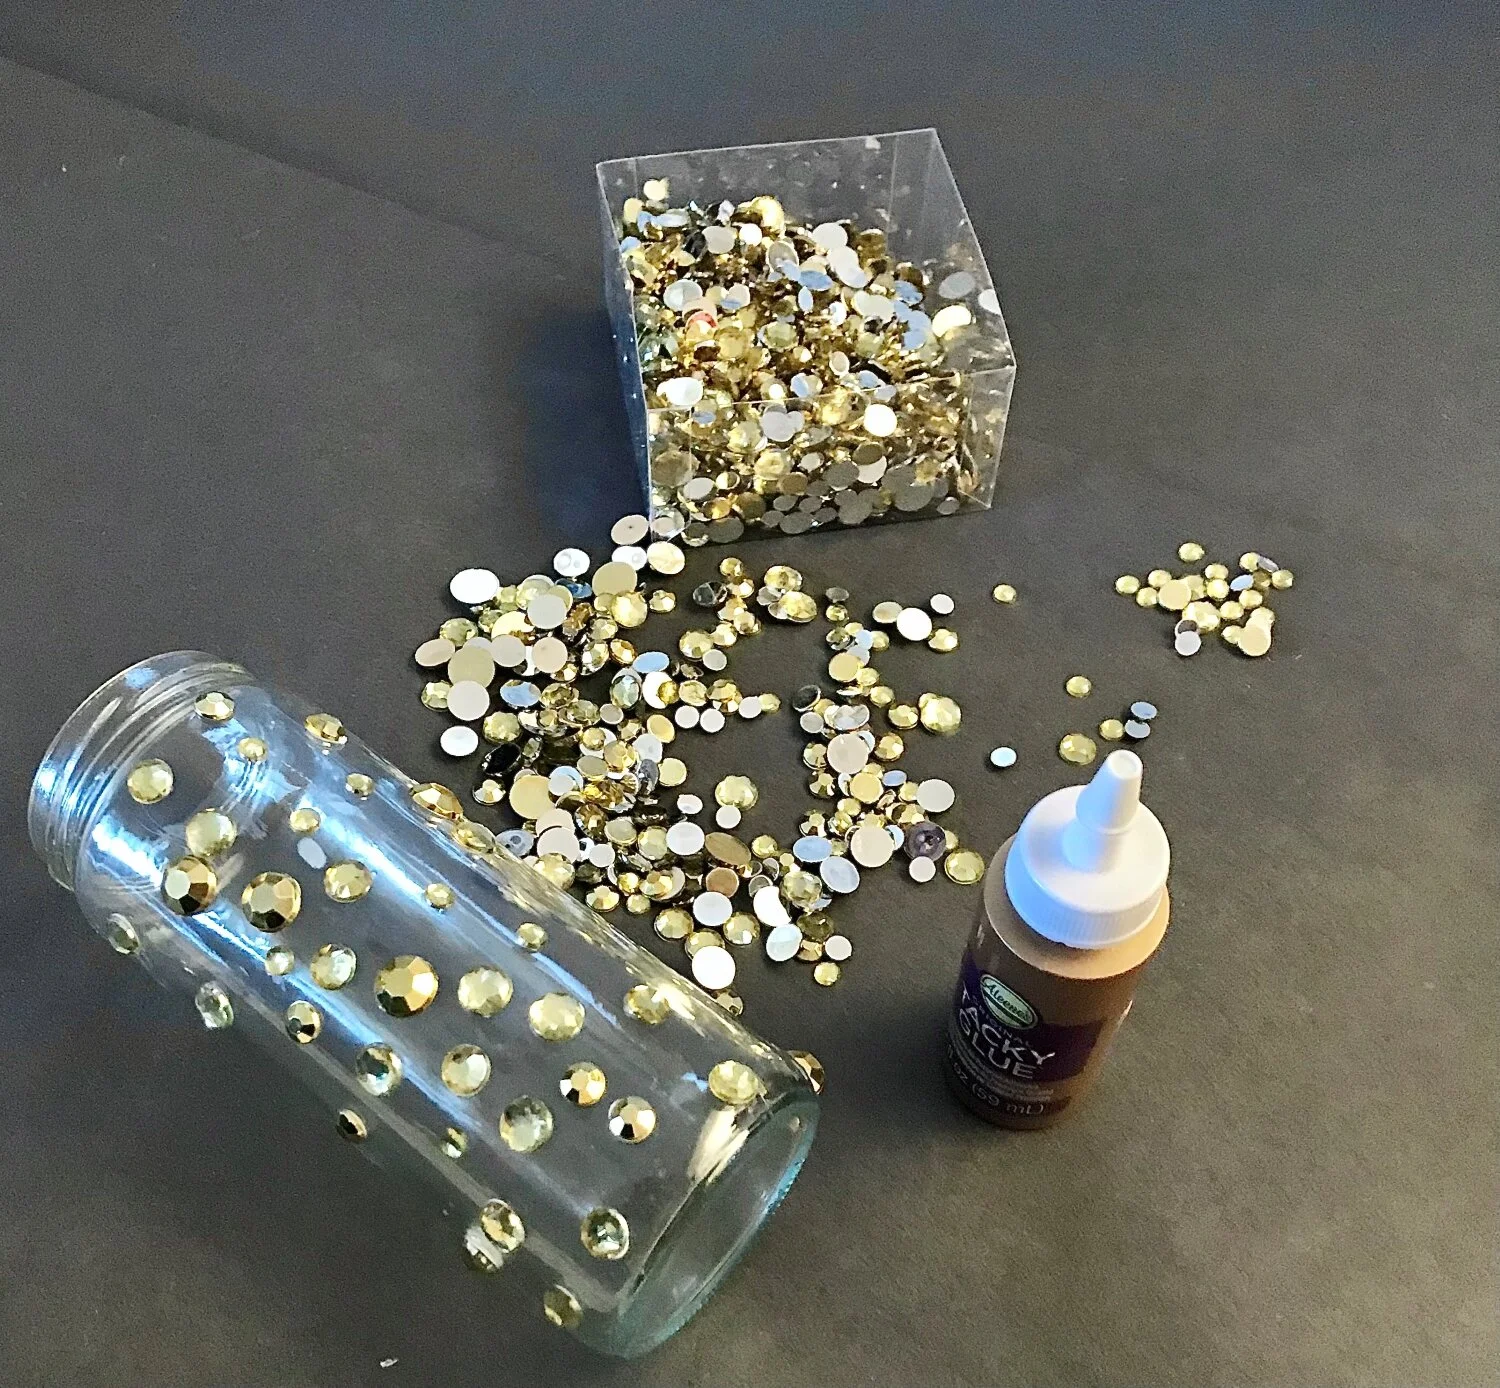
Step three: Tie ribbon or place rhinestones, sequins, buttons, or other paper on the jar. Allow time to dry. You can do this to the same jar you have been using or to a different jar and have some jars with pictures only, some with decorations only, and some with both. If you are gluing anything be sure to do small sections and let them dry, then move on to other sides of the jar; you do not want the rhinestones, for example, to slide on the jar. The glue will get messed up and you want to keep this as neat as possible. Additionally, I suggest only covering about three-quarters of the jar so you do not see the glue on the other side underneath your item of choice.

Step four: Place the battery-operated tea light candle on the lid and close the jar. If needed, shift the jar lightly so the tea light candle can move back to the right place. If you do not have a tea light candle you can exchange it for small battery operated string lights. Leaving the lid off is also an option. Do not use a real candle!

Step five: Turn the light on and enjoy your personalized photo gallery. You can use this decor in addition to other decor you have, whether it be another jar project, set of lights, or plants.

