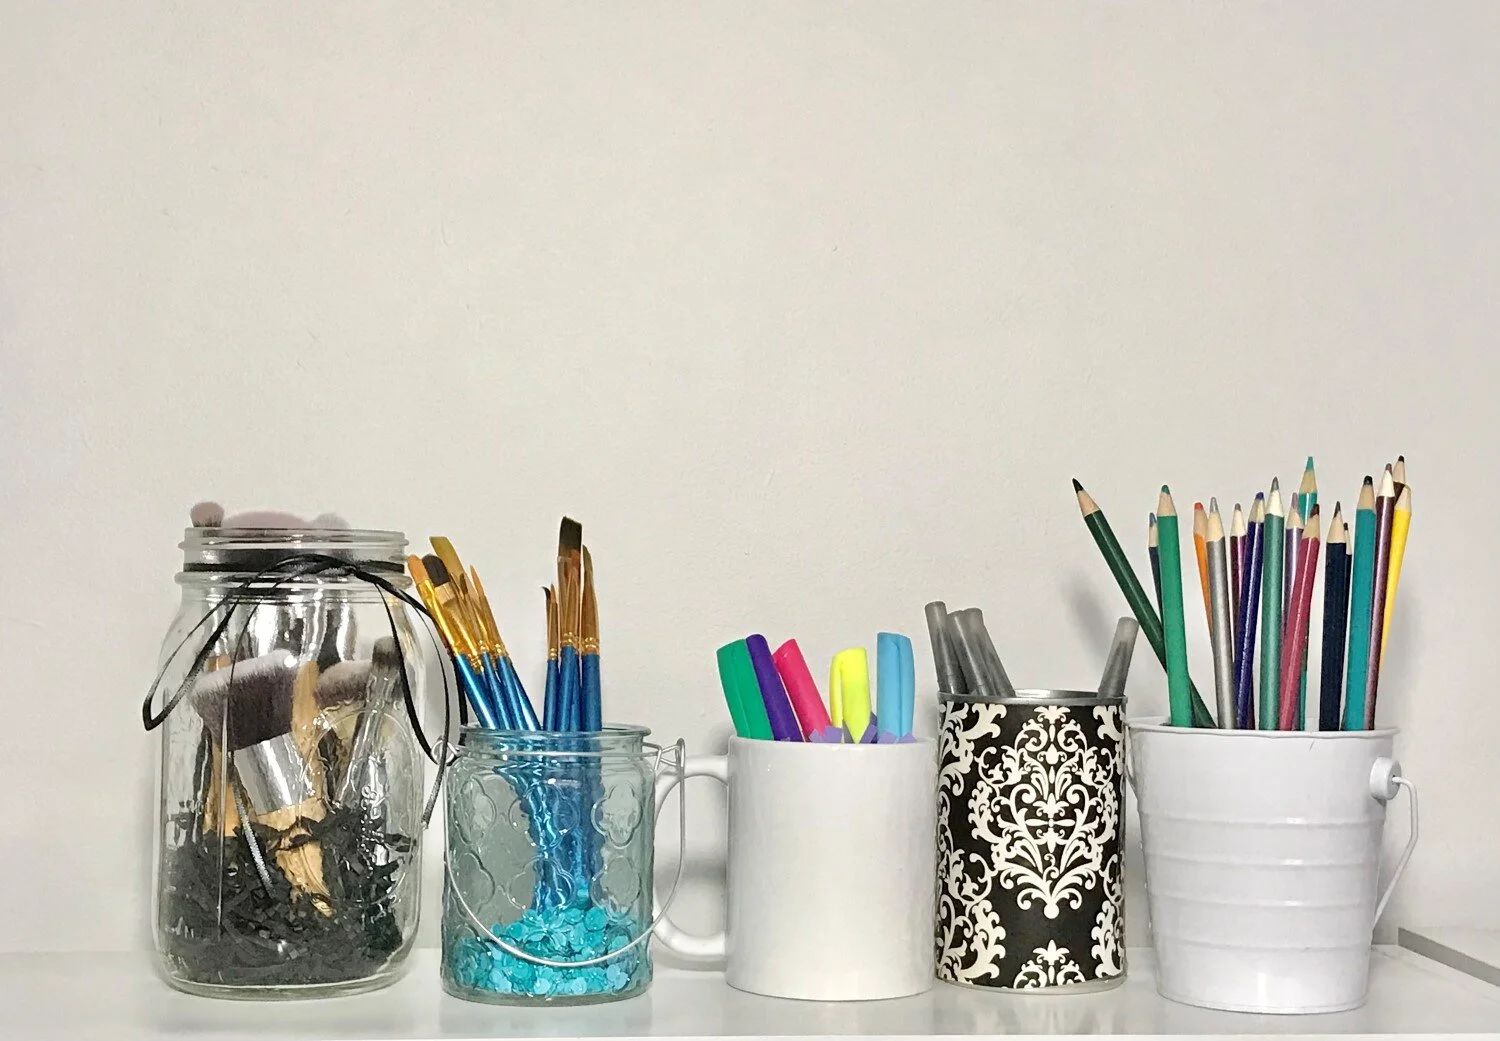
Makeup Brush or Pencil Holder by Gabrielle McLean
Keeping your tools in one place is a great way to stay organized and this craft is versatile, so you can use it for makeup brushes, paintbrushes, pencils, pens, or anything else you choose! Staying organized allows you to remain feeling not stressed.
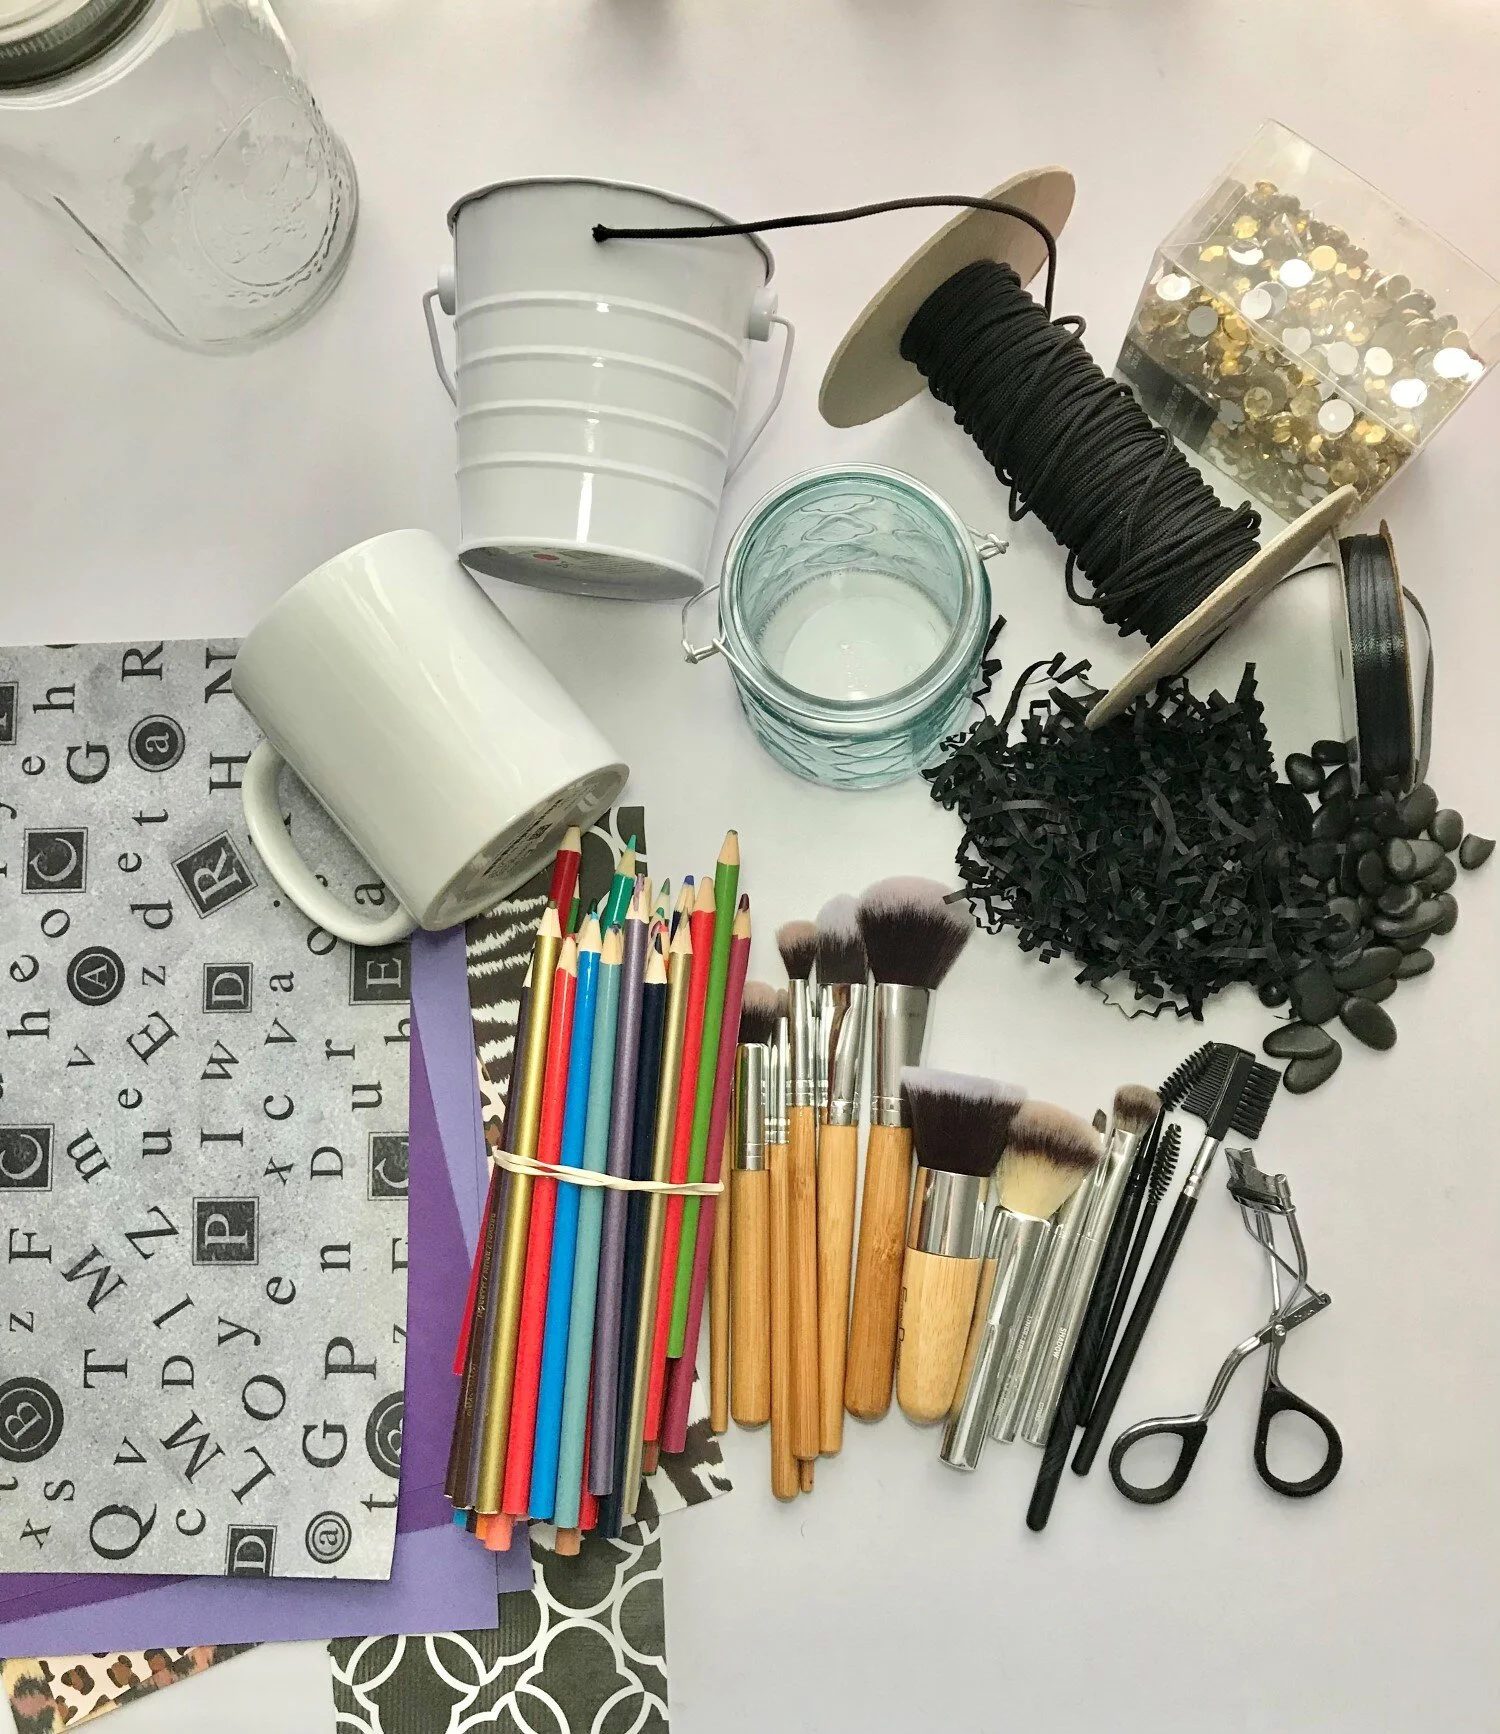
Materials:
Mason jar, cup, mug, or can
Crinkle paper, Tissue paper, or Paper and scissors or hole punch; or Other small items such as beads, small stones
Tools of your choosing (Pencils, colored pencils, markers, paintbrushes, makeup brushes, etc.)
Optional: Ribbon or string
Optional: Cardstock, Construction Paper, or Wrapping Paper
Instructions:
Step one:
Get all the materials you want to use.
Step two
: If you have crinkle/already cut paper, you can place it in your container of choice.
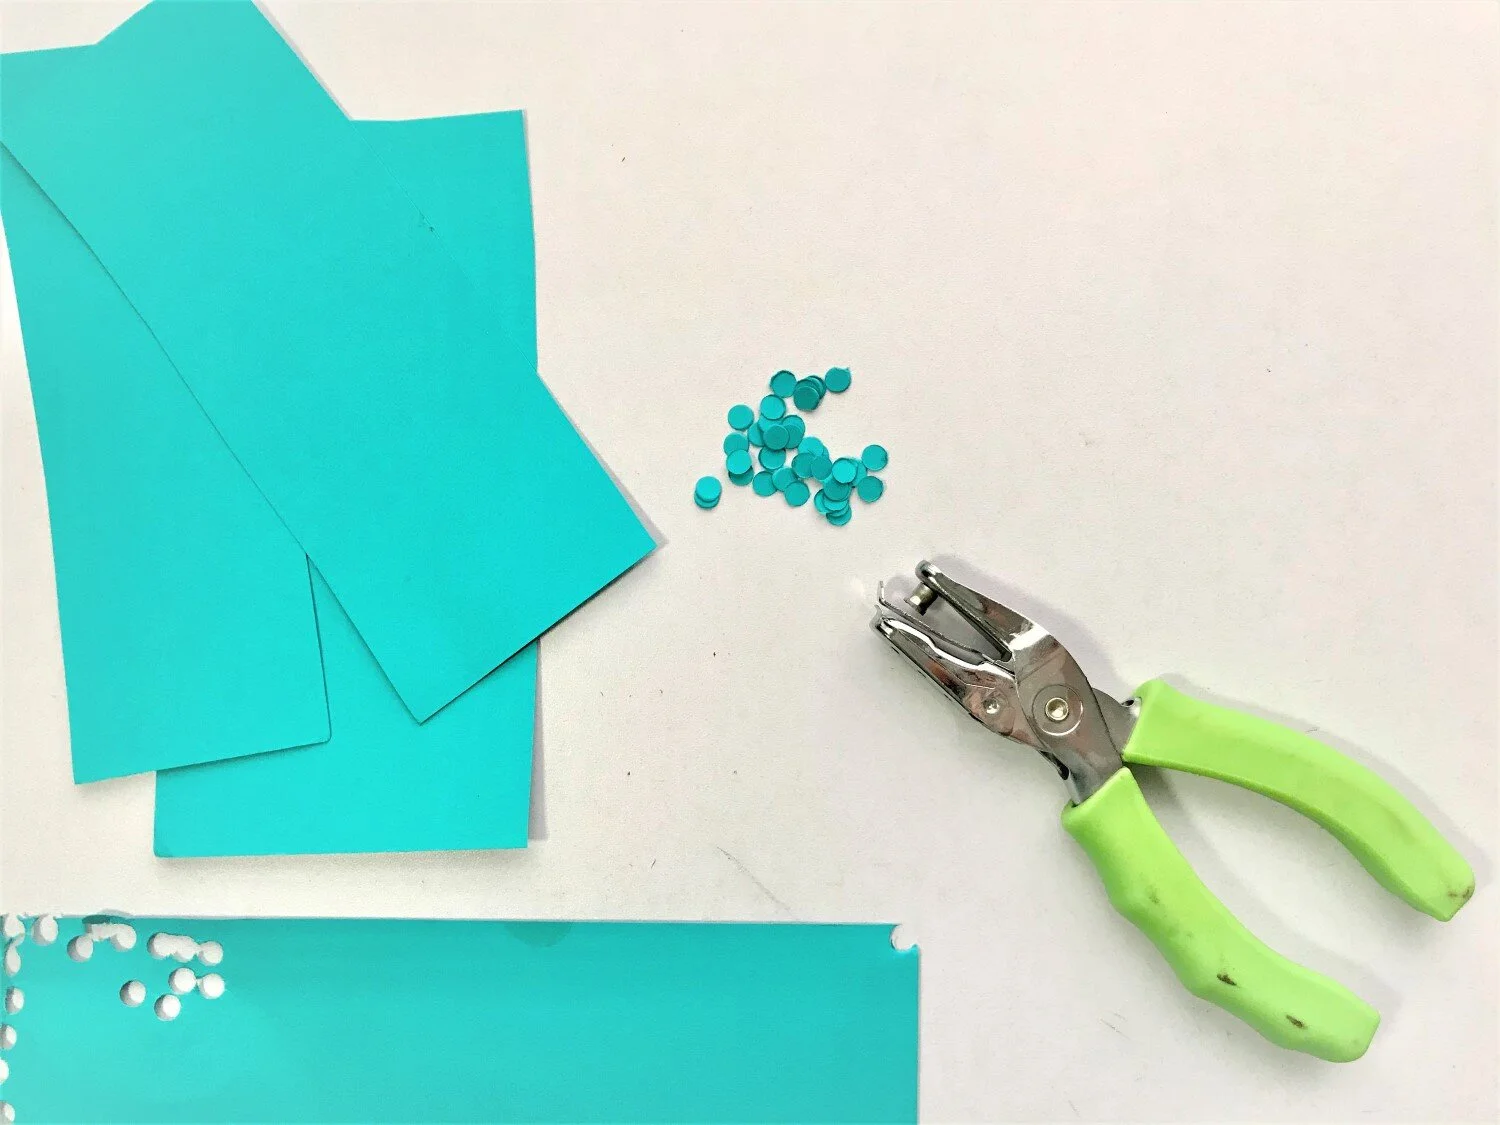
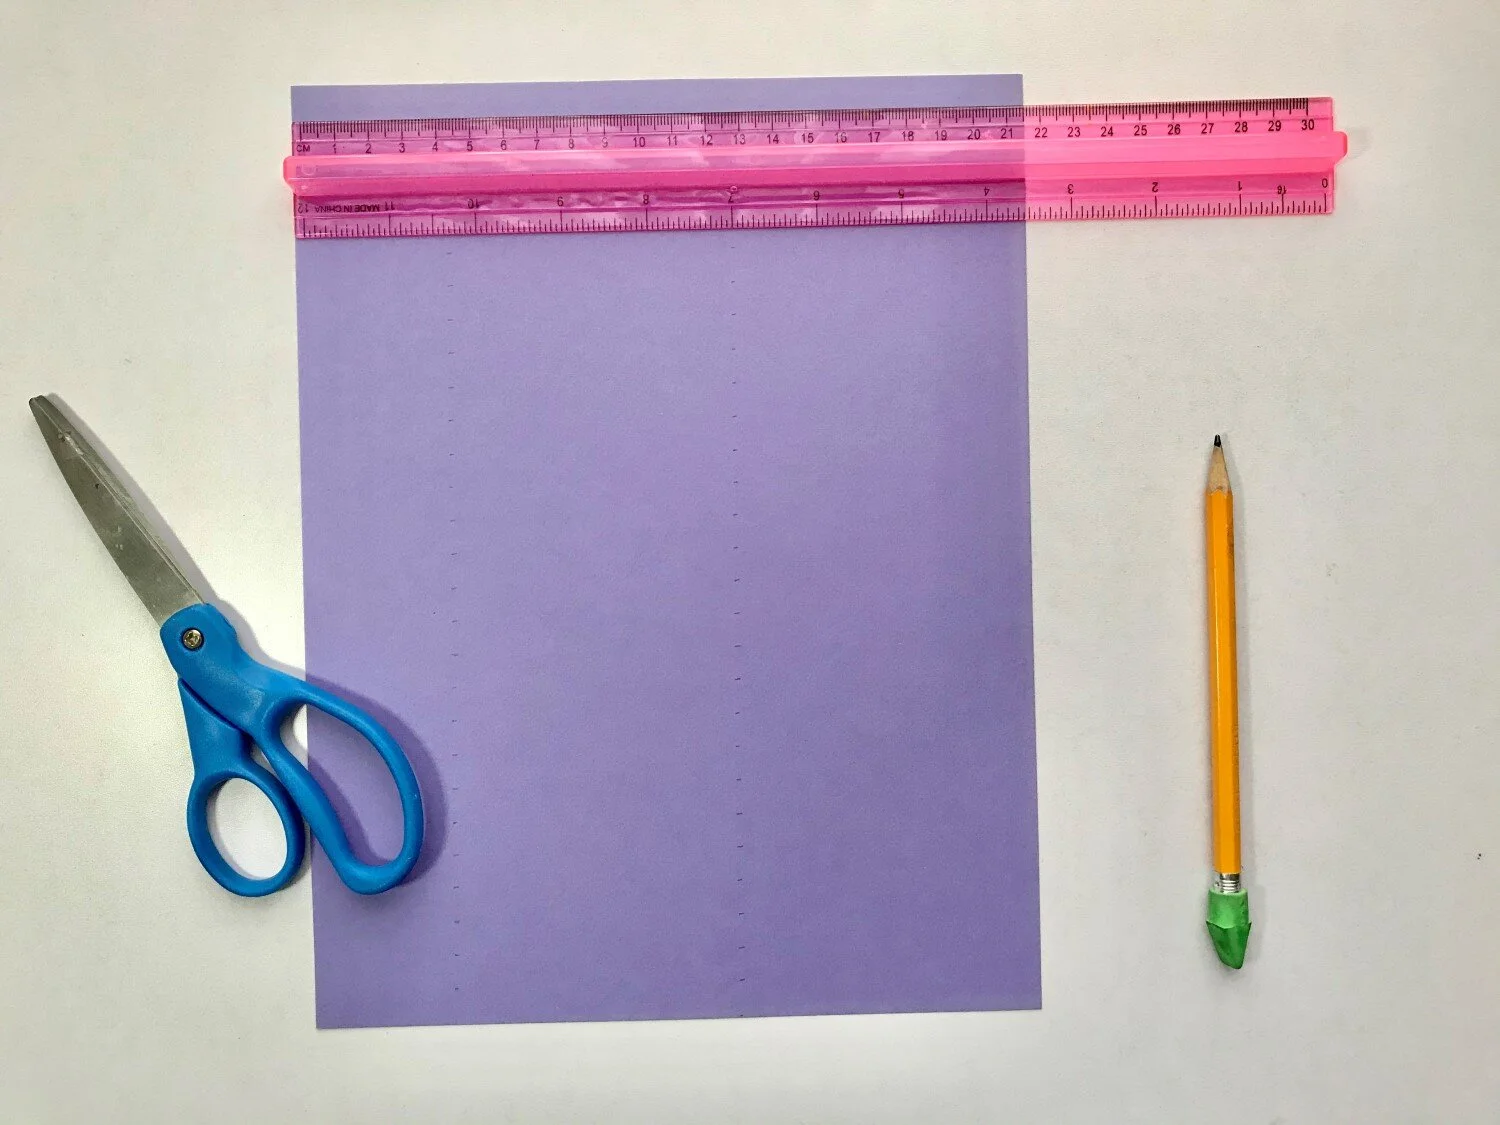
Step three:
If you do not have paper that is already cut, you get to decide how you want to cut it! You may want to cut the paper in small strips, or you can use a hole punch to make many small circles (or another shape if you have a hole punch that is another shape). This may take a bit of time, so relax-put on a show or some good music! If you have some sort of padding, such as a piece of foam from a jewelry box, you can put it below the paper to help both the paper and your utensils stay in place. If you decide to use beads or a similar item instead of paper, you can pour them into your container. Be mindful of how heavy these items, such as a bag of small stones, could be compared to your container.
Step four:
If you like, this can be your last step, and you can finish by placing your makeup brushes, paintbrushes, or another type of utensil in your container.
Optional: Decorate the container!
First: If you are using a can, you may choose to cut wrapping paper, cardstock, or any other paper you have. Then, glue it around the outside of the can to make it more decorative. Measure the height of your can and the width you need and then cut the paper. Make the paper a little bit longer than you think you need so you have some overlap for when you tape or glue it. Be careful with the can as it may be sharp on the inside. You may decide to tape the rim of the can so it is not sharp. This is a great way to ‘upcycle’ because you are reusing an item!
Next: If you have rhinestones, glitter, stickers, or another material you want to use, you can glue them to the cup now. Keep in mind the material of your cup when choosing your decorations, as well as the type of glue or tape you use. Some combinations may be easier than others.
Then: Ribbon, string, and yarn are also options for decor! If you have a handle, you may want to tie your string around the handle, or you may choose to make a bow.
Step five:
Once you let the decorations dry, you can place your paper or another item into the cup and then place your brushes, pencils, etc. in the cup, too. The paper and/or other material will help keep the brushes or pencils in place while also serving as a decoration.